Deploy
Deploy your April agent to your website with a customizable chat widget.
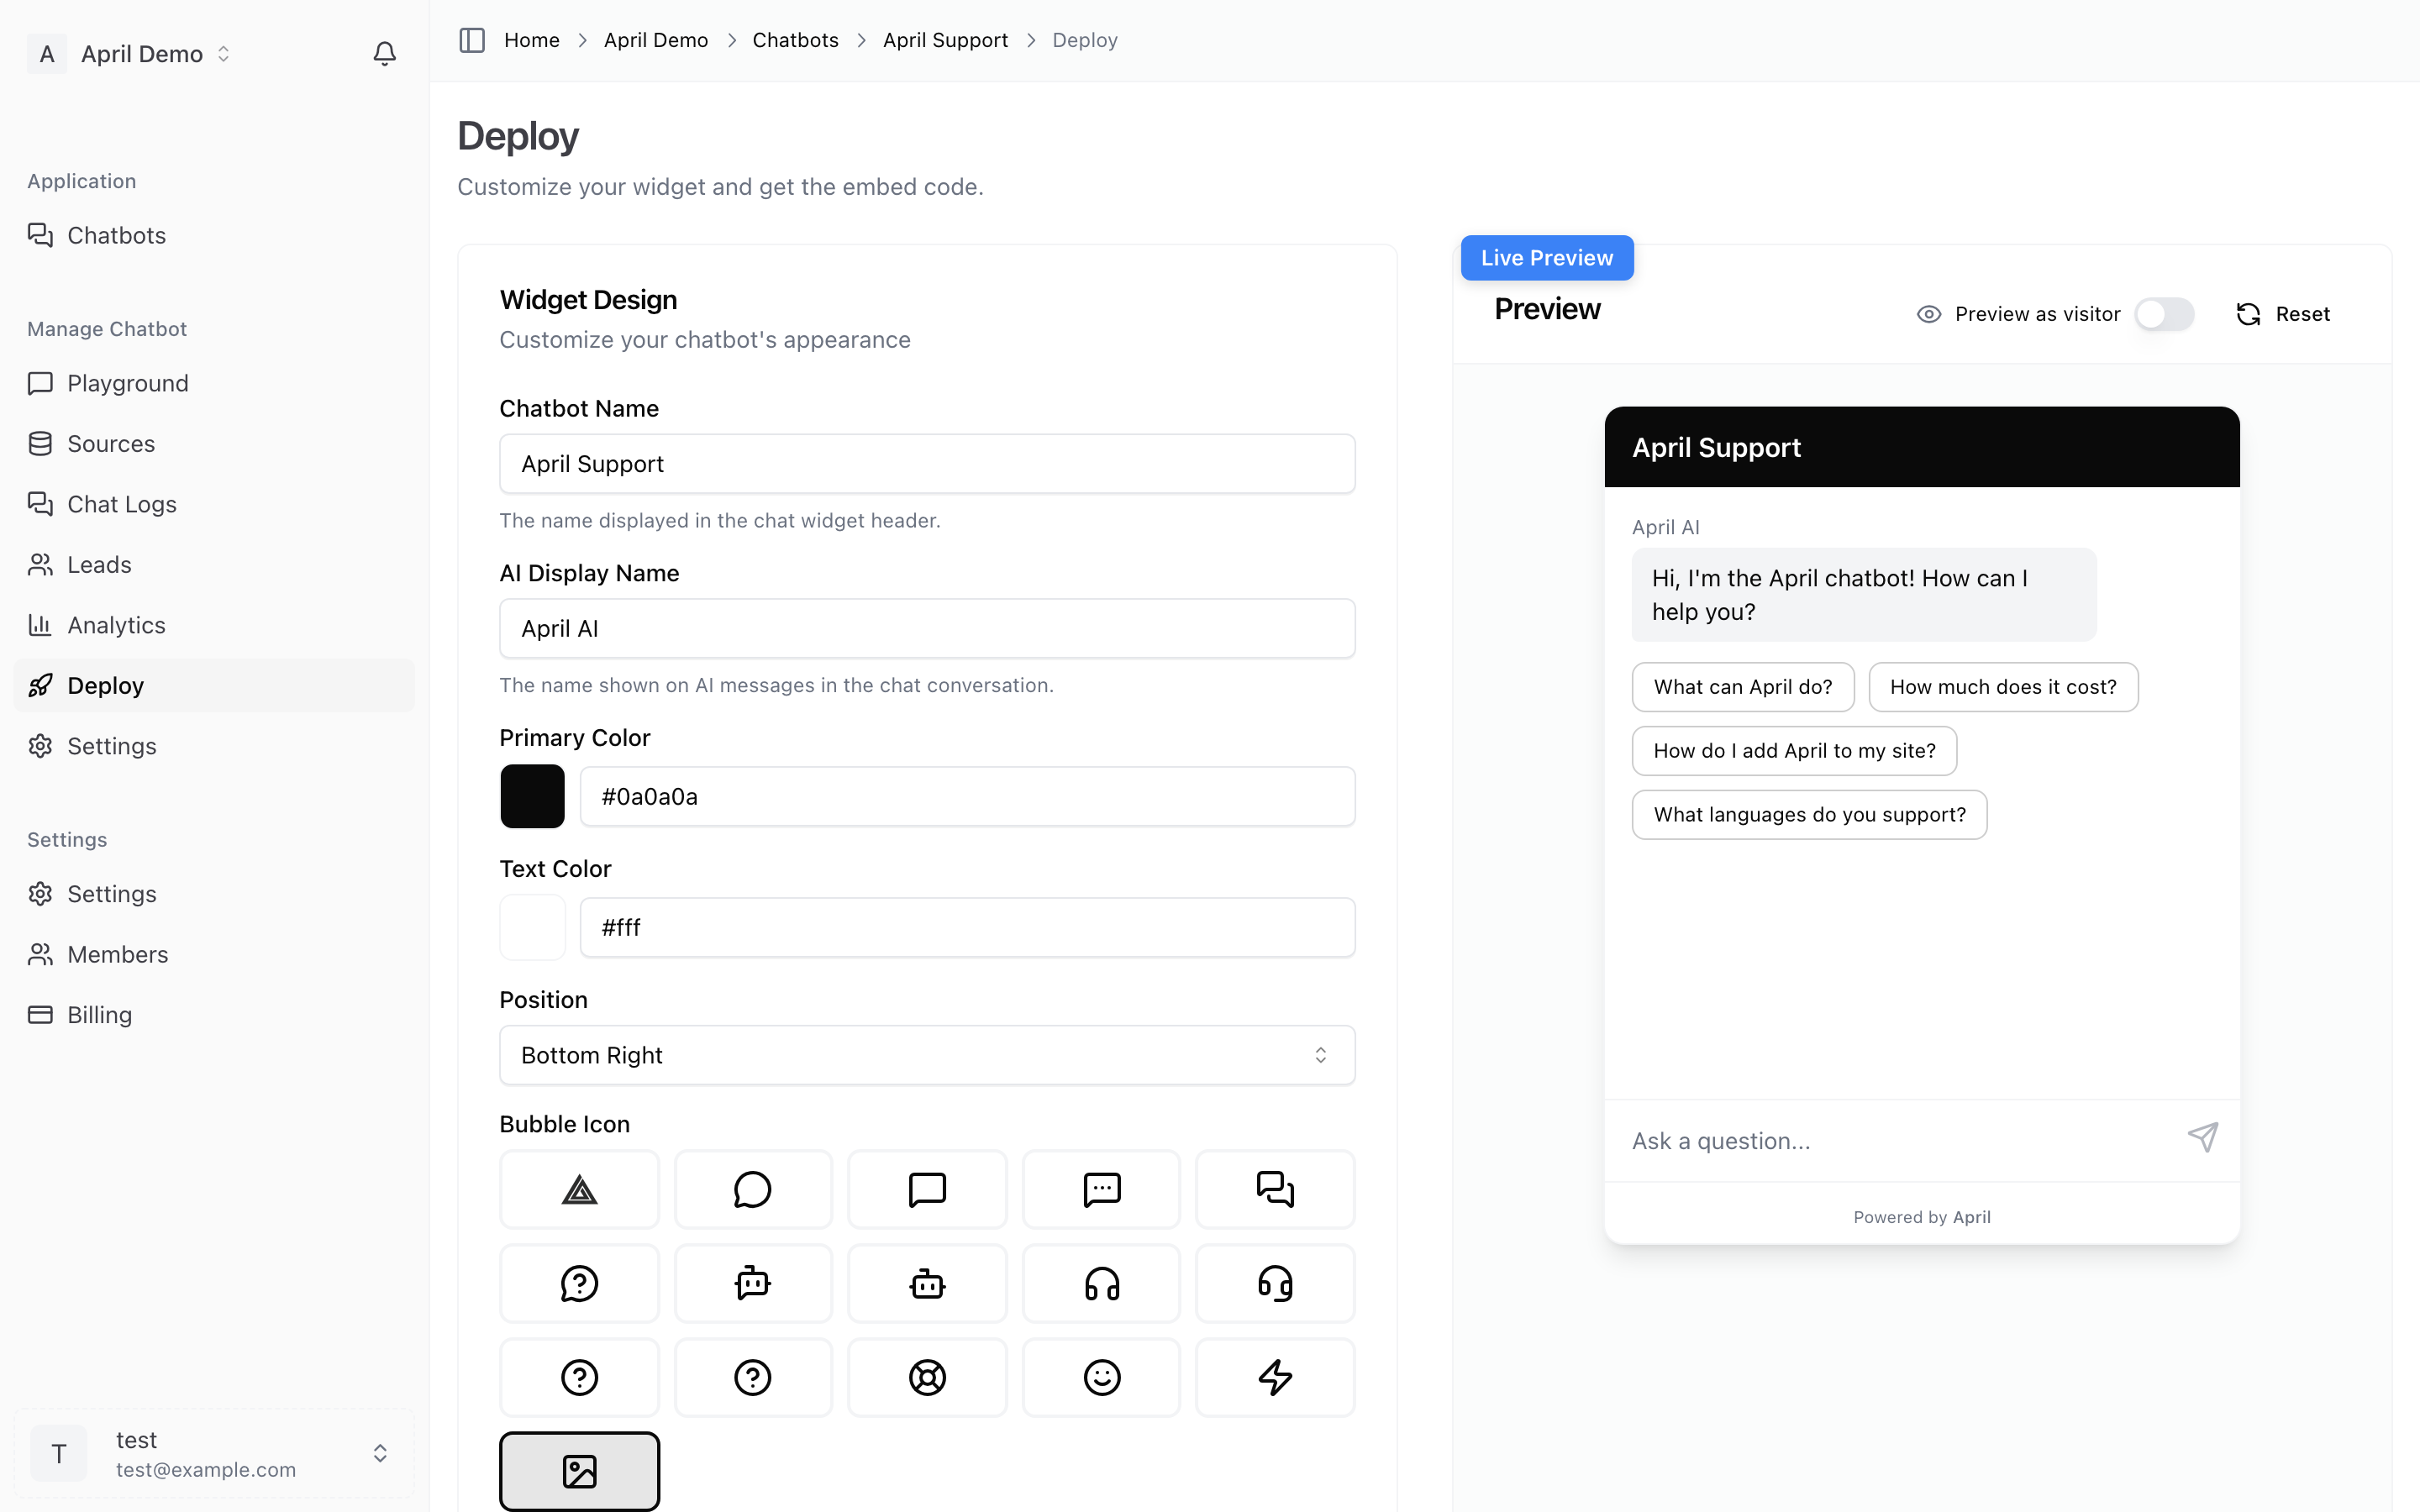
The Deploy page is where you customize your chat widget and get the embed code to add it to your website.
Widget Customization
The Deploy page gives you a live preview as you customize your widget. Every change you make is reflected instantly.
Appearance
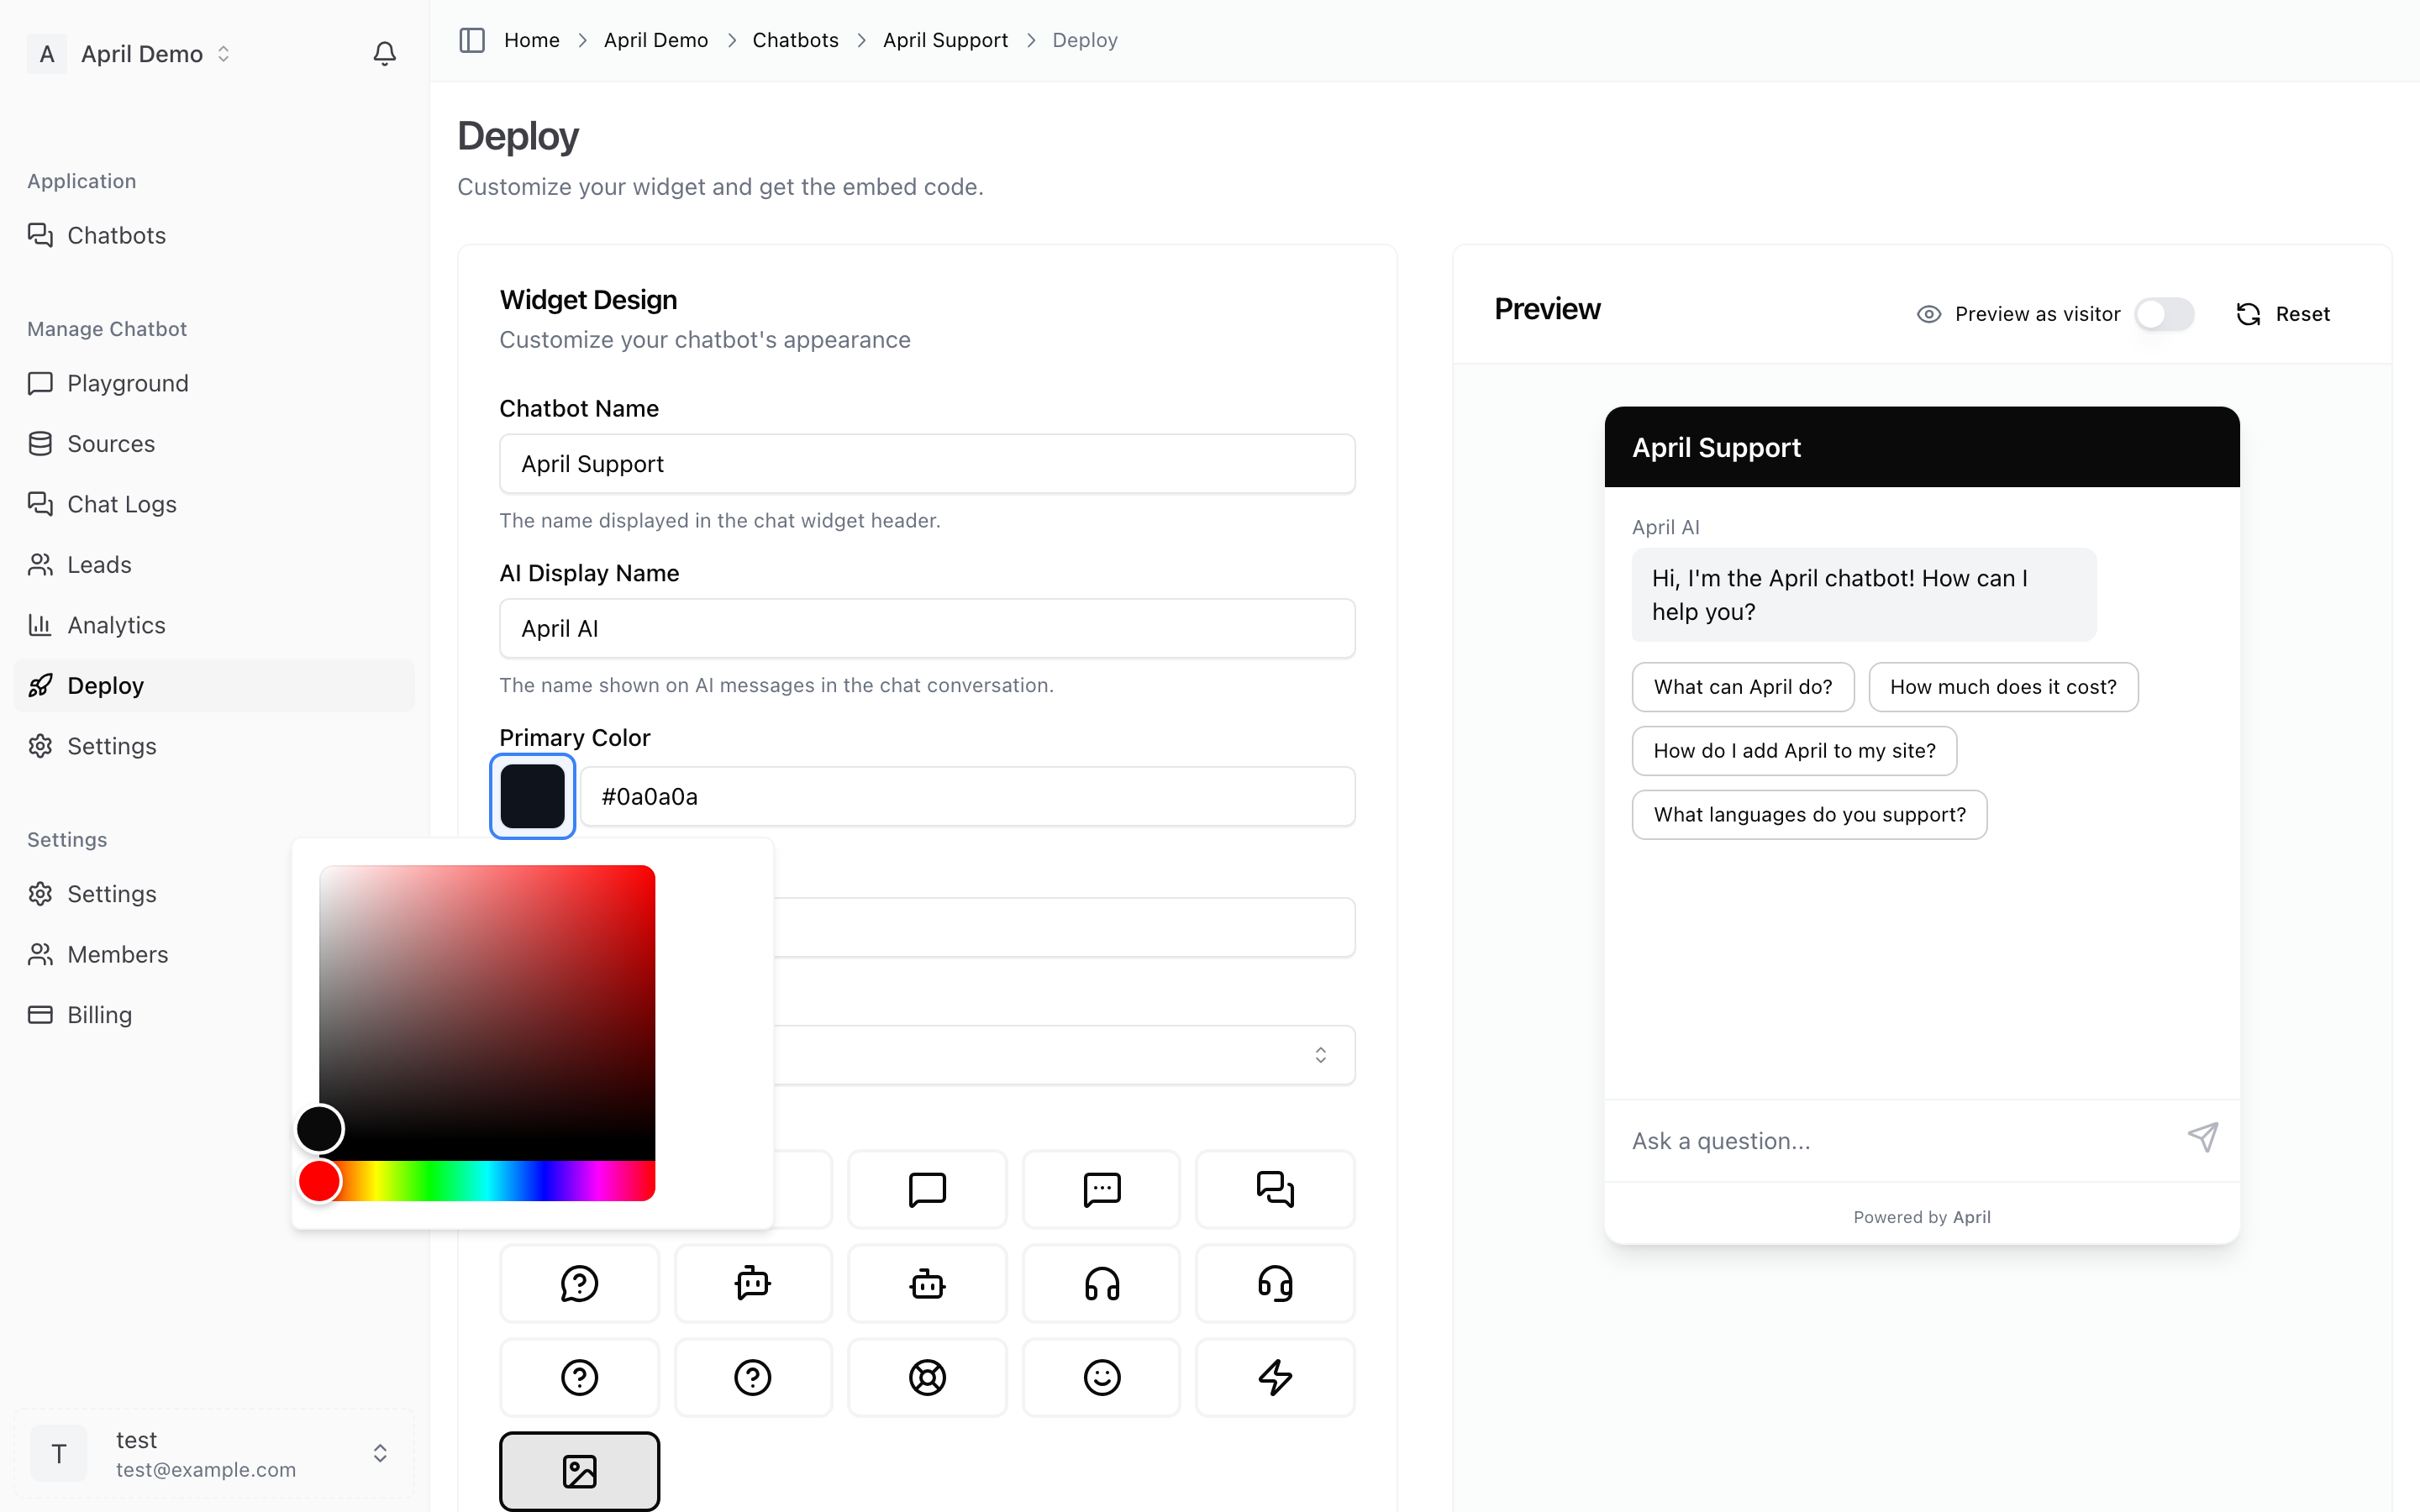
- Primary color — The main color of your chat widget (header, send button). Click the color swatch to open the picker.
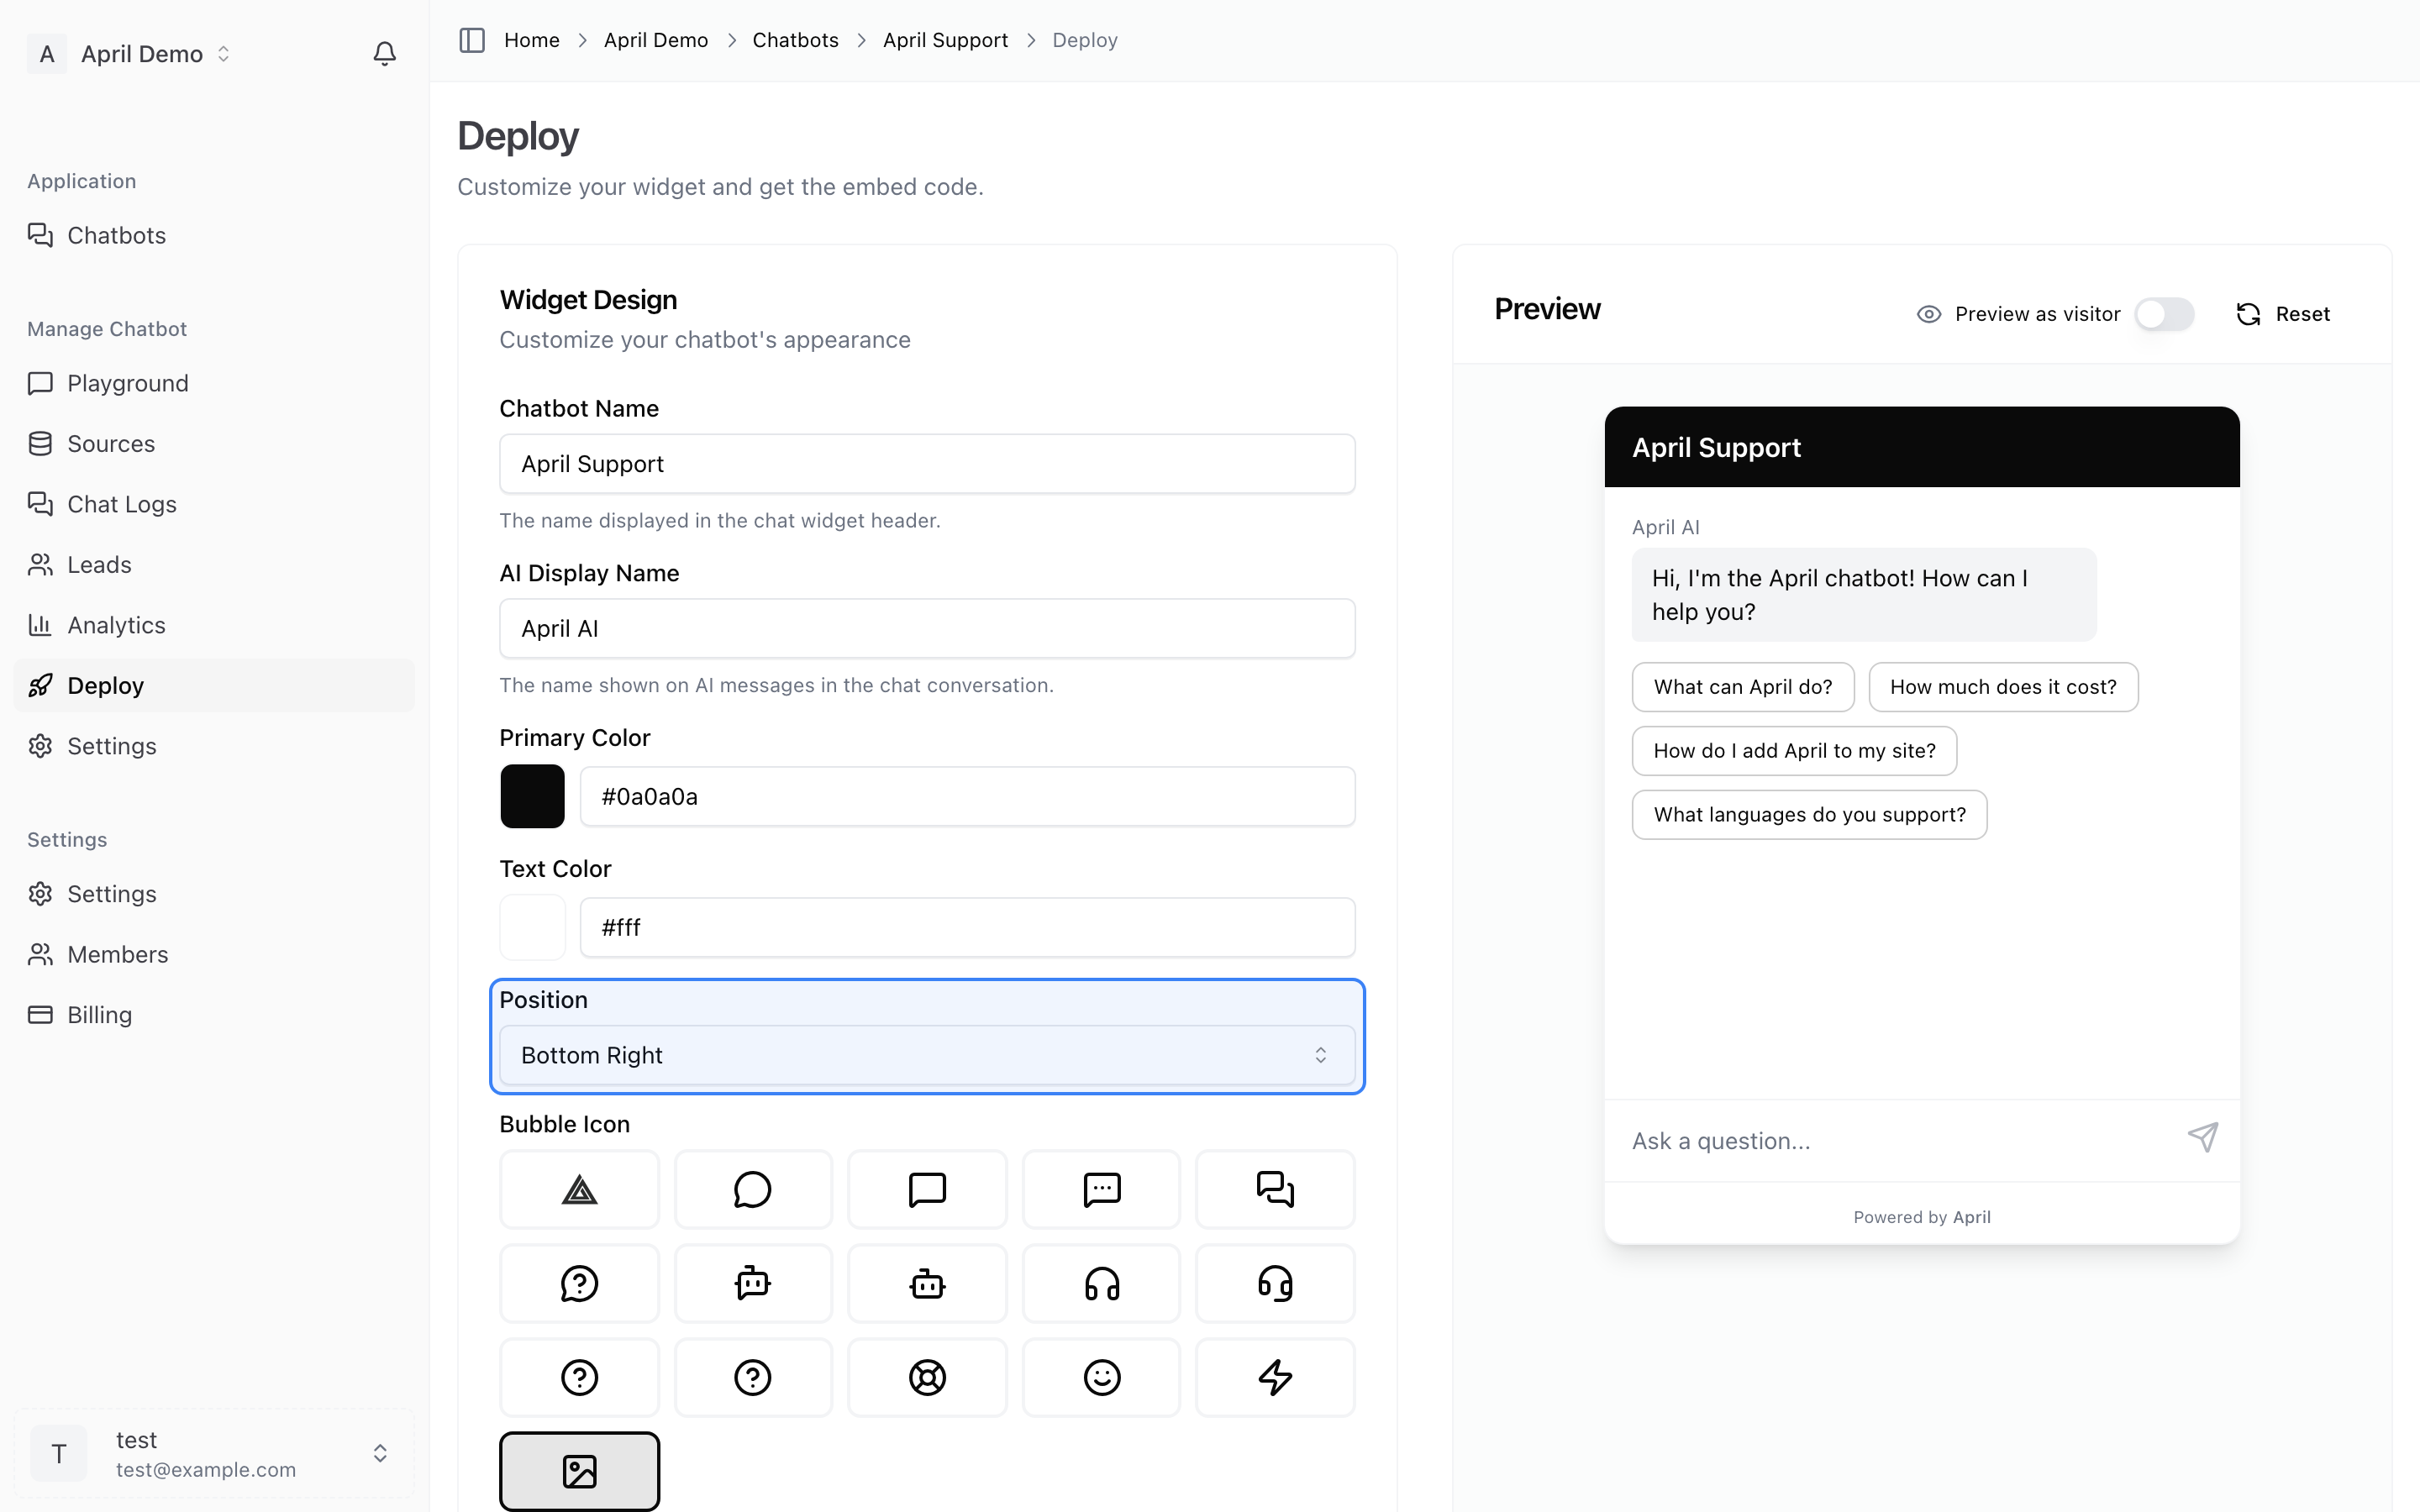
- Position — Choose where the chat bubble appears: bottom-right or bottom-left of the screen.
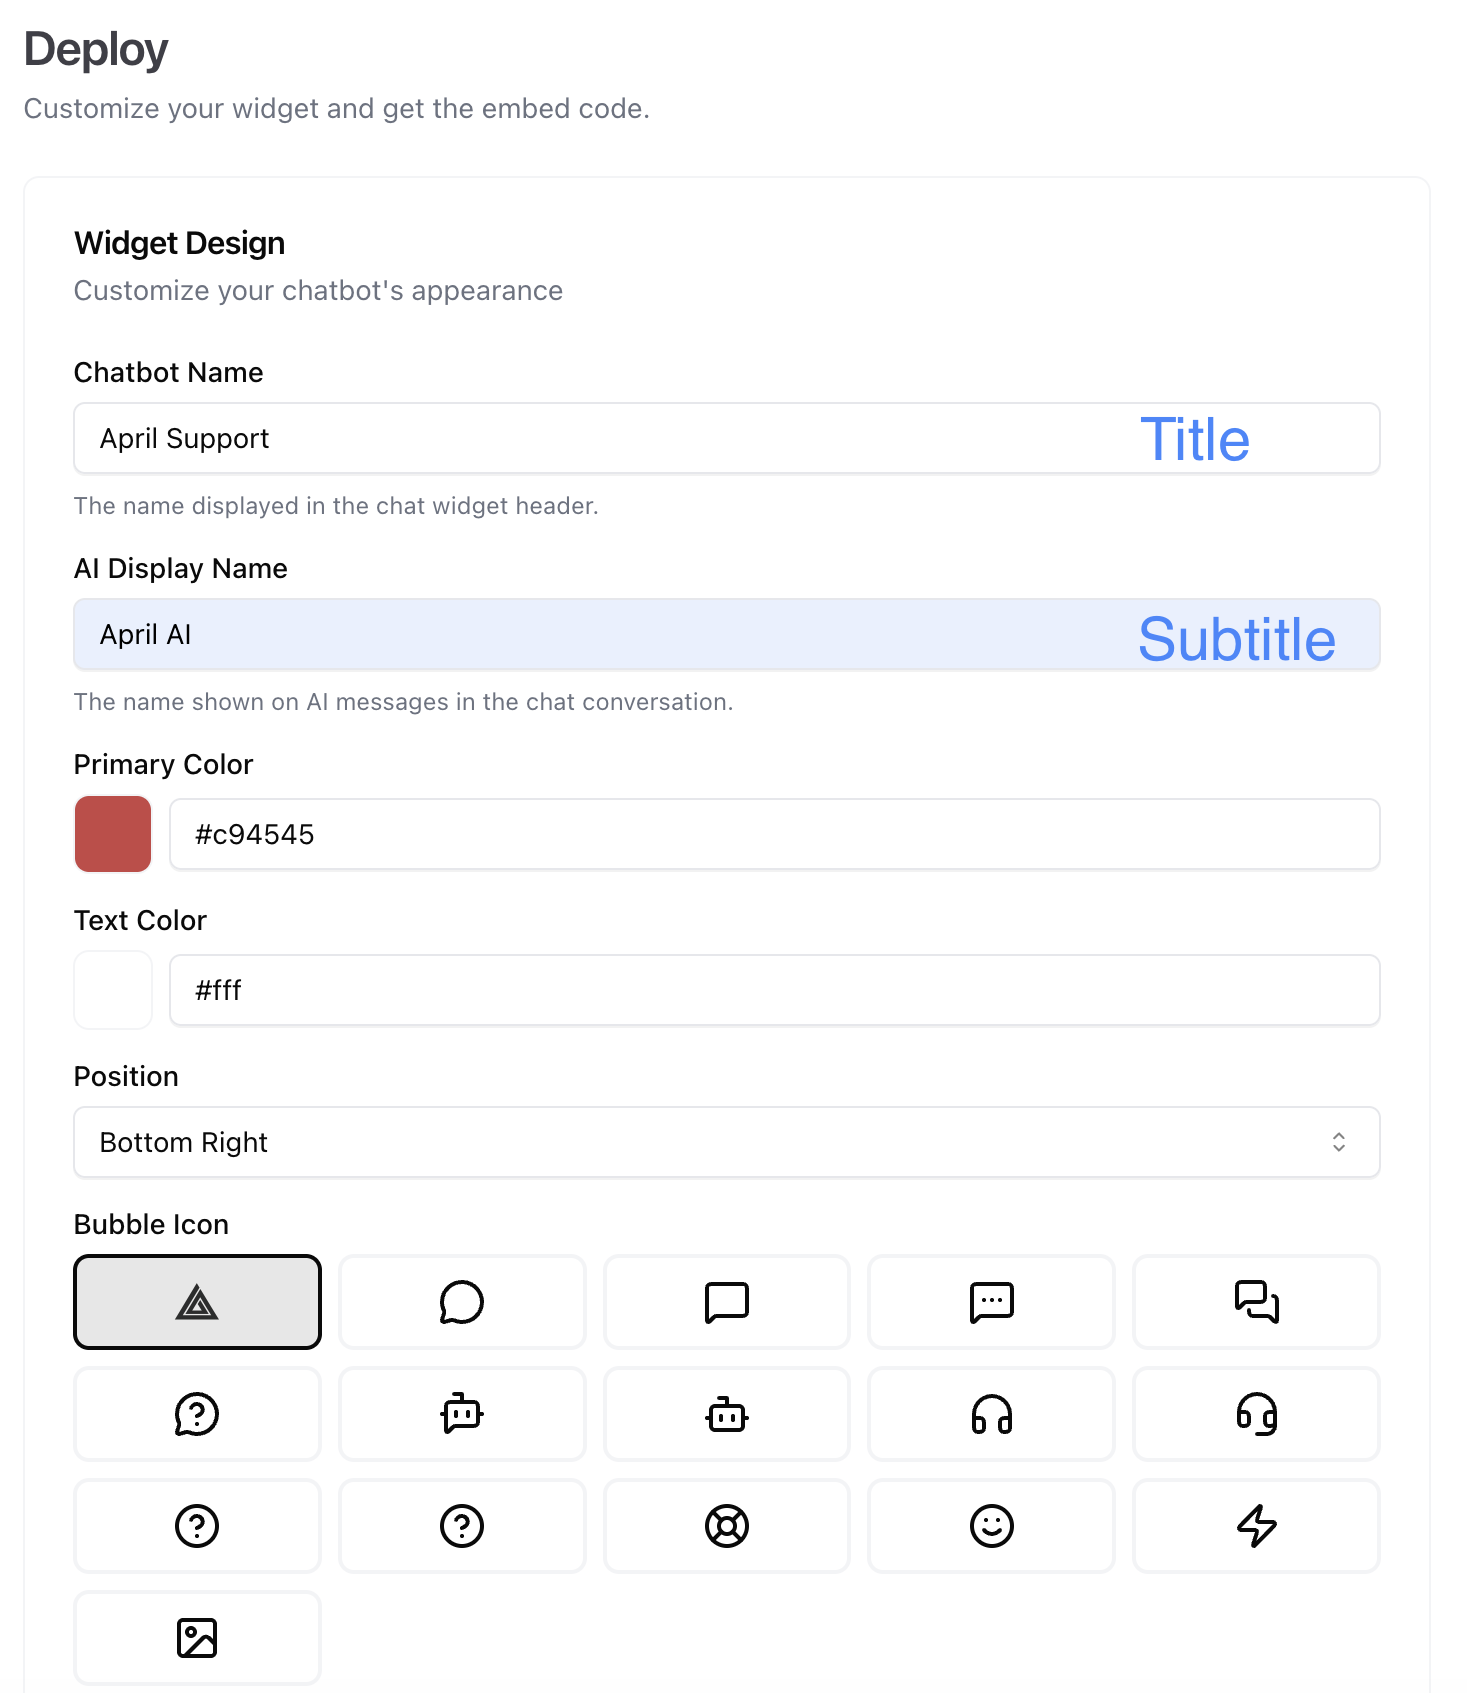
- Title — The name shown in the chat header.
- Subtitle — Secondary text below the title.
Welcome Message
The first message visitors see when they open the chat. Use this to greet visitors and set expectations.
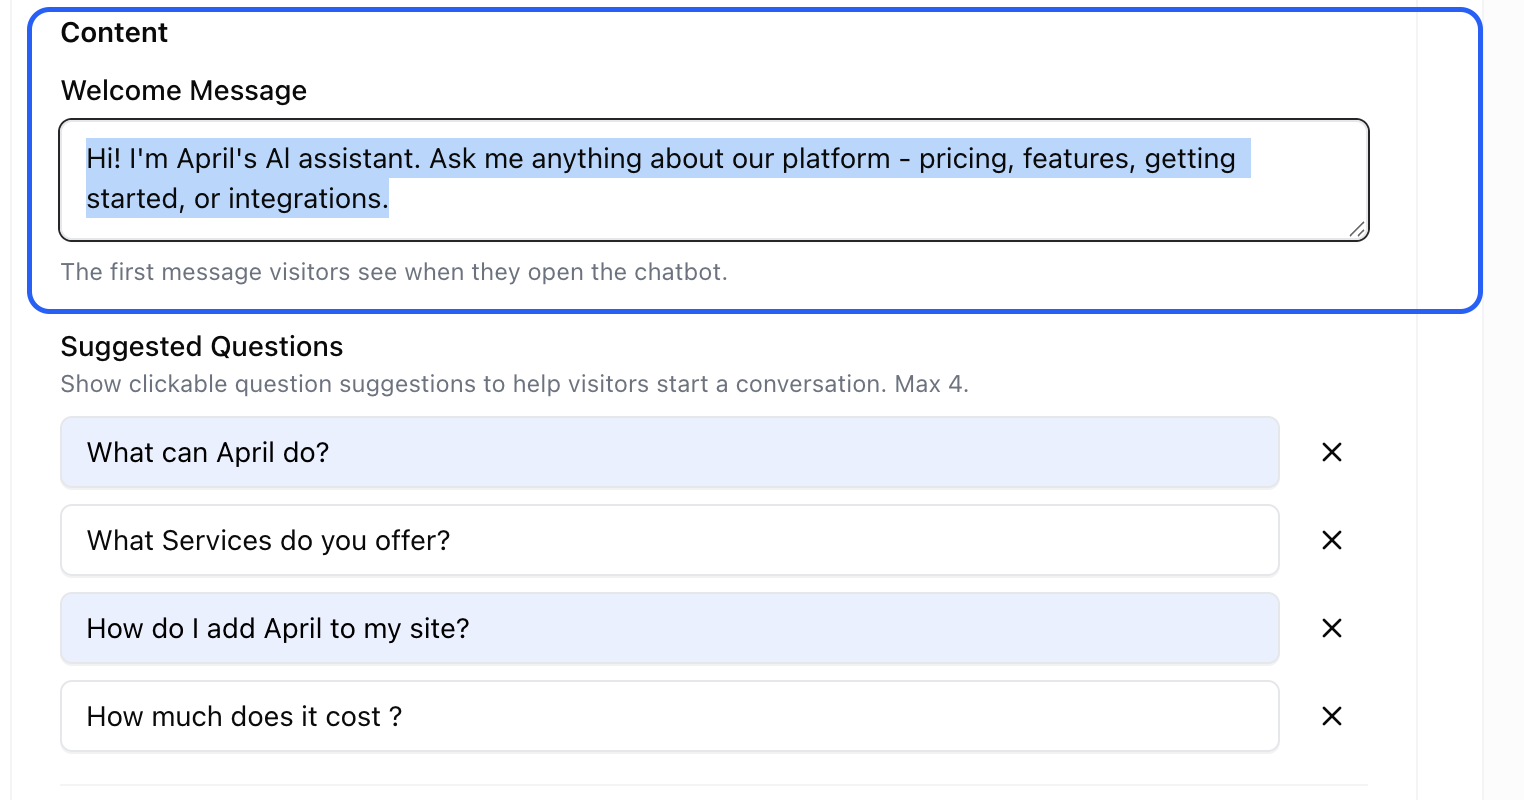
Suggested Questions
Add up to 4 suggested questions that appear as clickable buttons when the chat opens. These help visitors get started and highlight what your agent can help with.

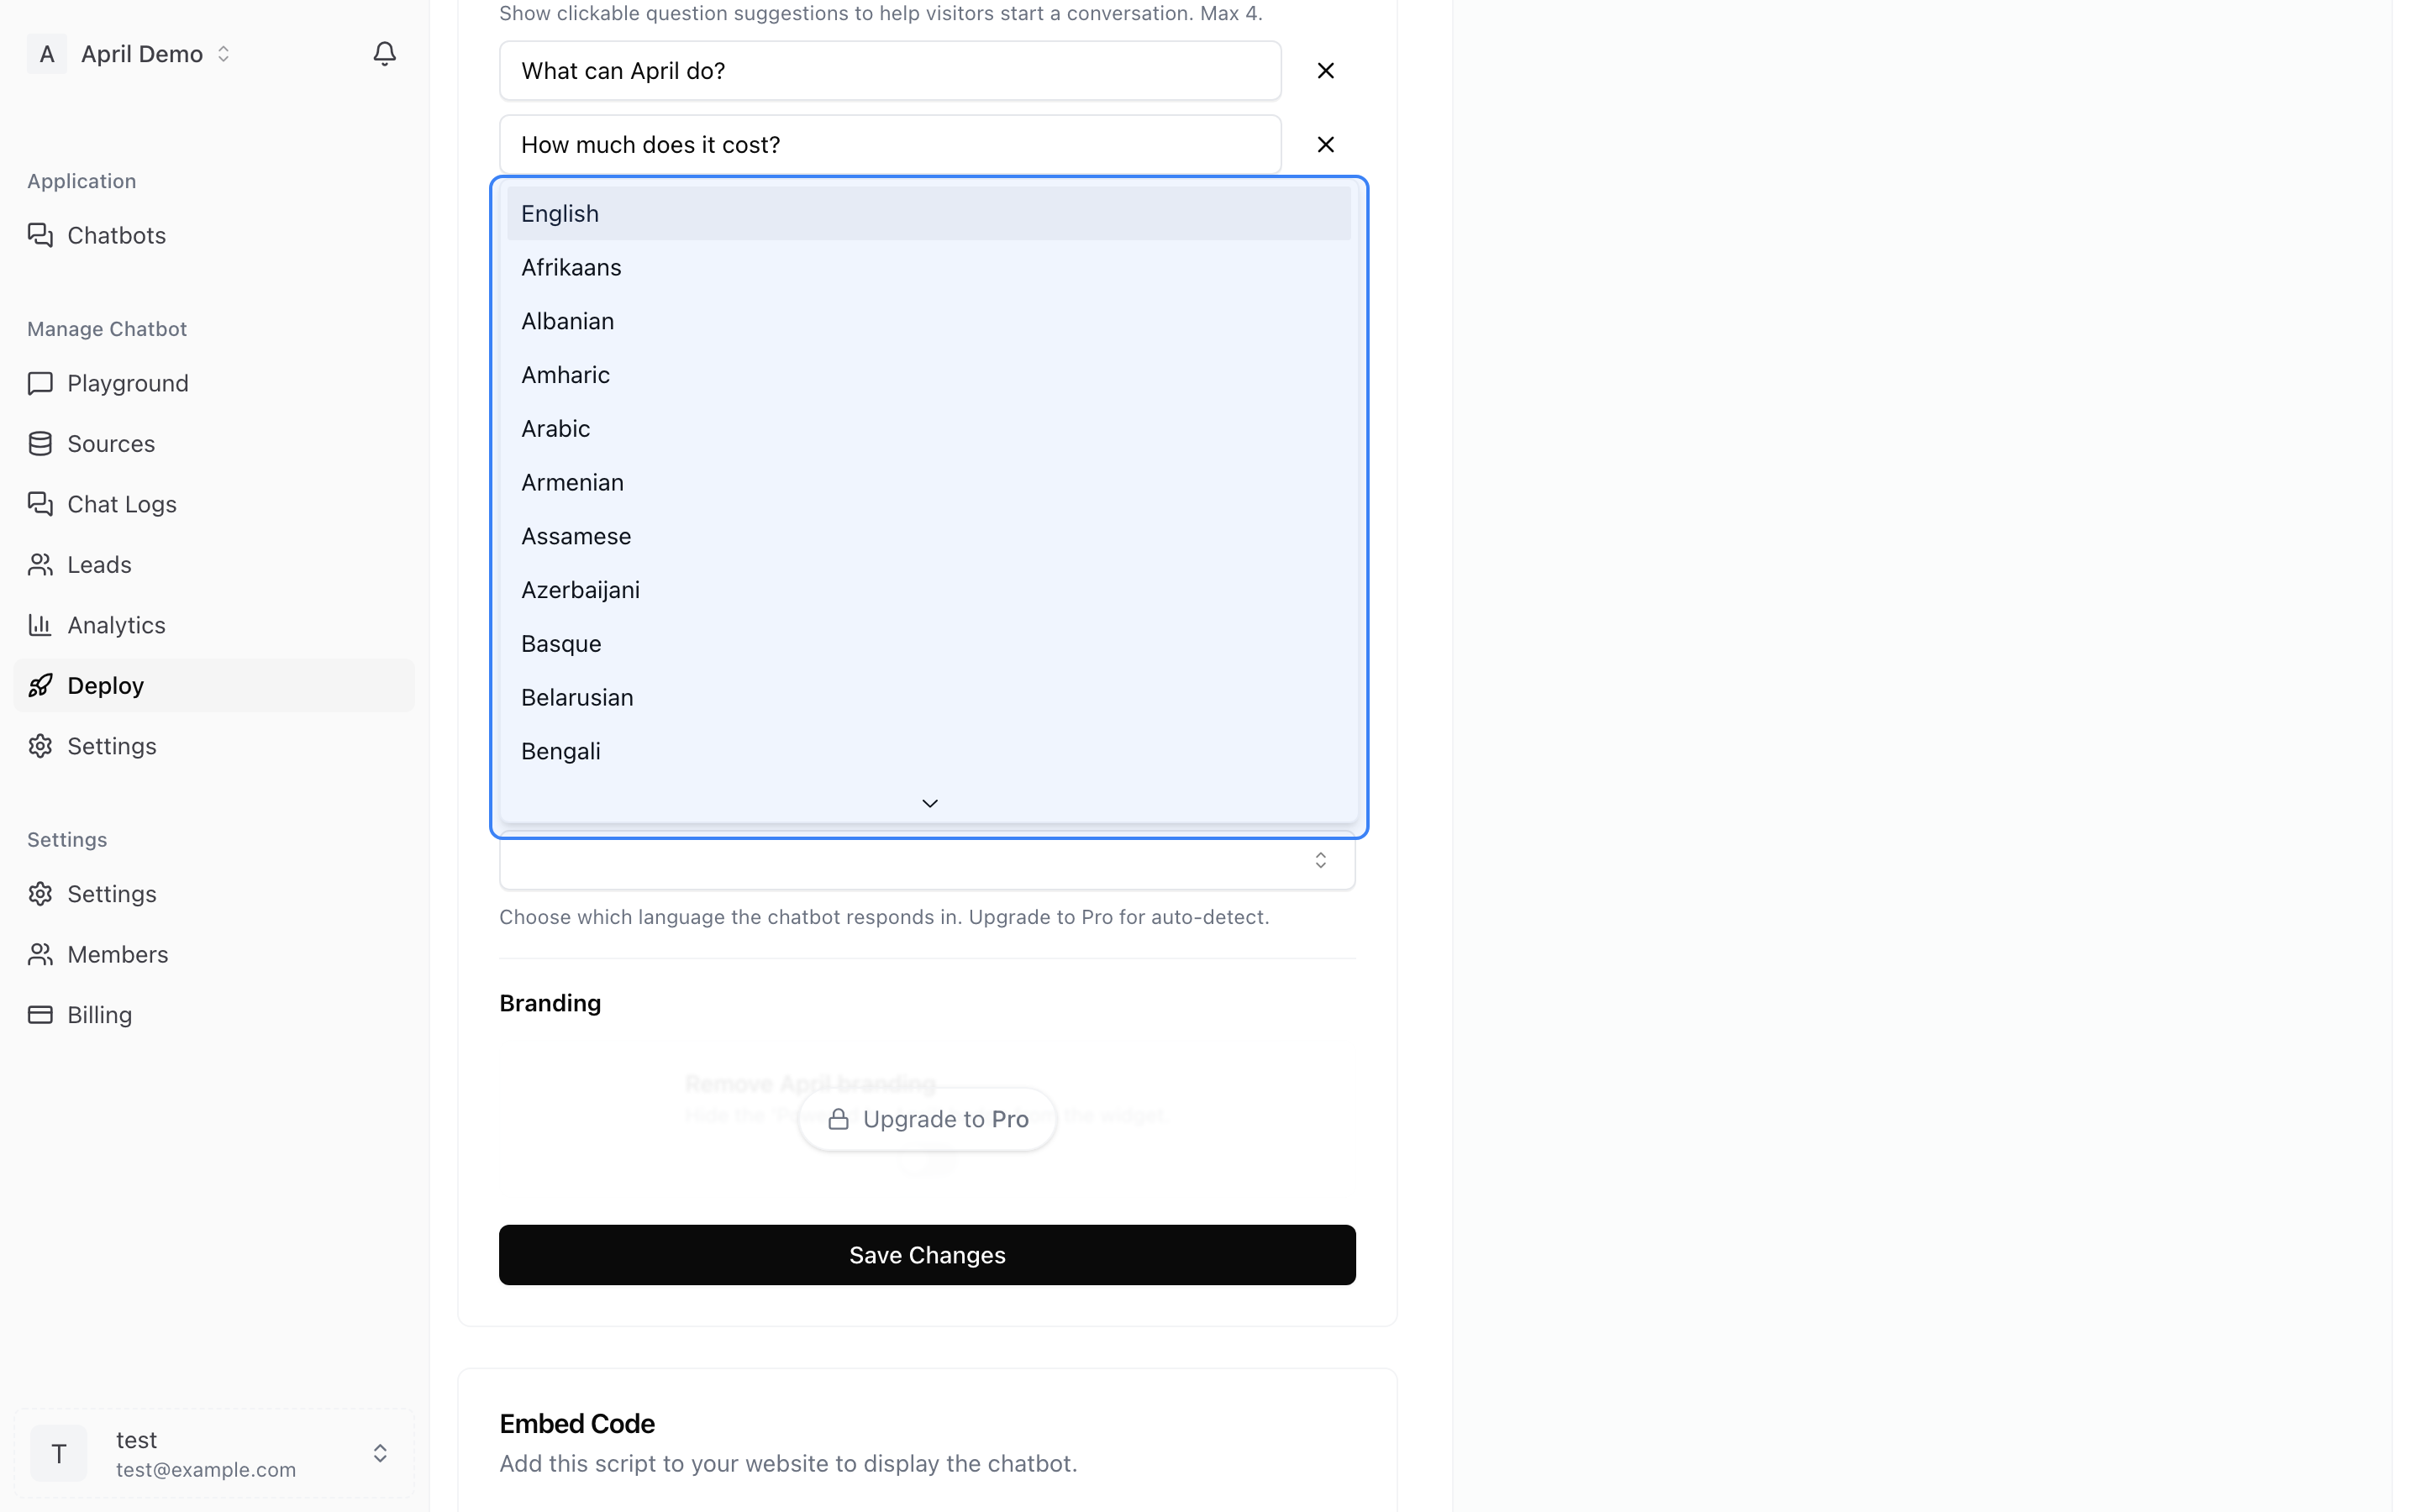
Language
Choose from 100+ supported languages or enable auto-detect to let the widget respond in whatever language your visitor uses.
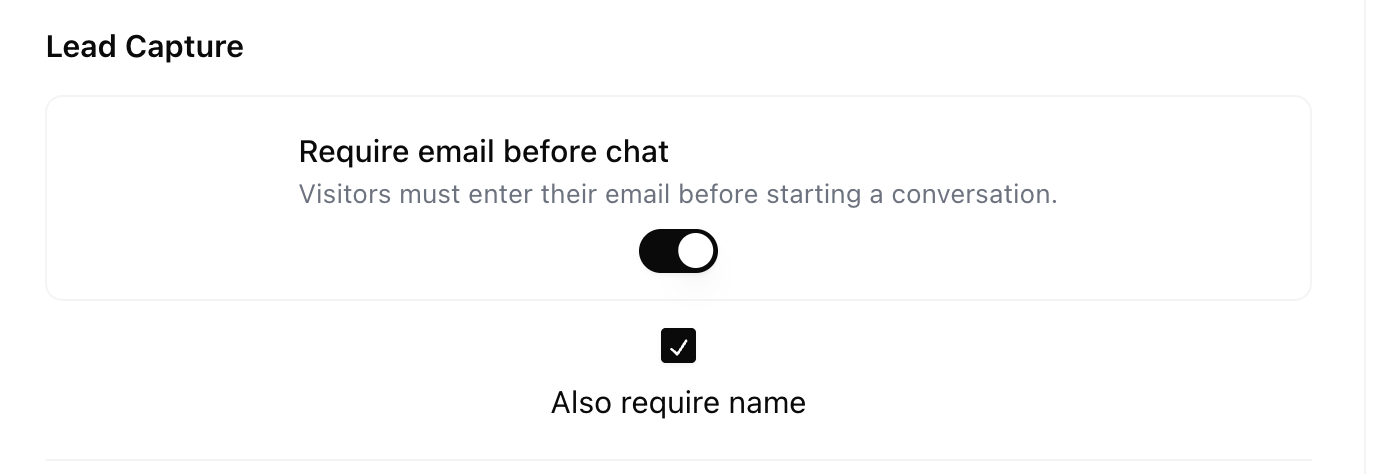
Lead Capture
Enable a form that collects visitor email (and optionally name) before they start chatting. See Lead Capture for details.
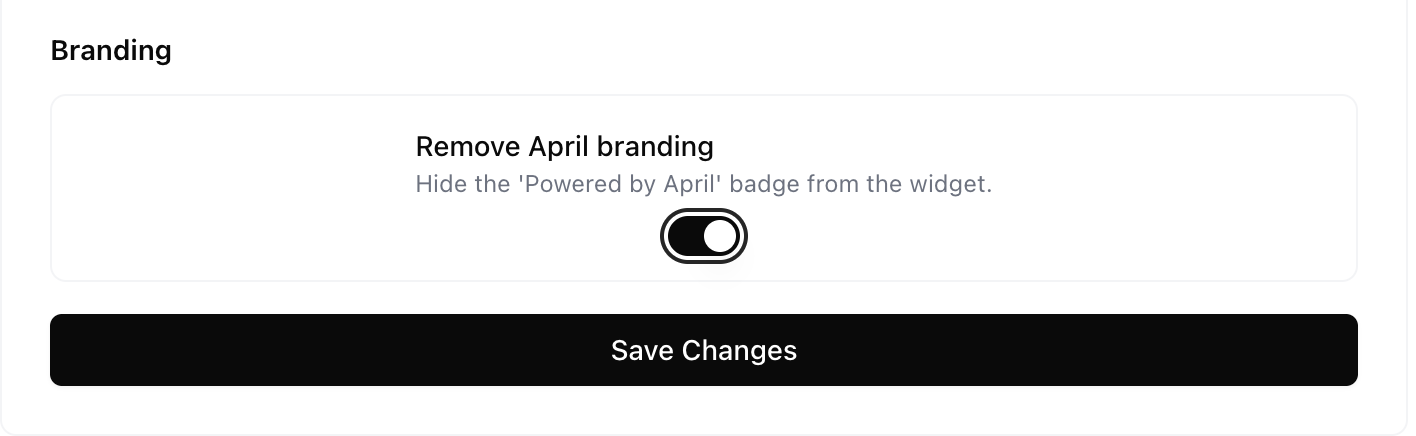
Branding
On paid plans, you can remove the "Powered by April" badge for a fully white-labeled experience.
Bubble Icon
Customize the chat bubble icon that appears in the corner of your website. Choose from preset icons or use a custom image.
![]()
Embedding the Widget
Adding April to your website takes one line of code:
<script data-chatbot="YOUR_CHATBOT_ID" src="https://theapril.app/widget.js"></script>
Copy the code from the Embed Code section at the bottom of the Deploy page.

Paste this snippet just before the closing </body> tag on any page where you want the chat widget to appear.
Works with any website:
Testing Your Widget
Use the live preview on the Deploy page to see exactly how your widget will look and behave before copying the embed code.